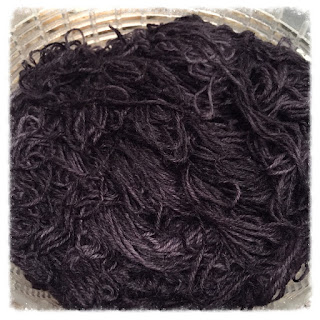
When I started dyeing, I was using a salad spinner to spin out the excess water in the yarn before hanging it to dry.
My arm got really really tired and I wasn't able to get very much water out. It took skeins 24-48 hours to dry, and my Avalon base with the silk took even longer. I don't have a lot of space to dry skeins, so I couldn't dye very fast because I didn't have the space to dry the yarn! (I dry yarn in our guest shower.)
I had heard other dyers talk about using a spin dryer (basically a small portable dryer) and thought that I might look into that at some point. Then, someone in my local knitting group had ended up with two spin dryers and mentioned that she was considering selling one. I decided to take the plunge and buy it. And I am so glad that I did! It has made a world of difference in my dyeing, both in the drying time (less than a day now, even for the silk yarn!) as well as for the self-striping yarn.
Once the yarn is dry, I reskein it. Some dyers reskein their yarn and some don't. For me, I think the finished skein looks neater when reskeined, so I choose to take this extra step (although I sometimes wish I didn't because it takes up a lot of time!). Right now, I have a set up for reskeining that I'm not thrilled with. At some point I plan to get an actual reskeiner or an electric skein winder, but for now, I'm using what I have: a horizontal swift and a ball winder. Here's what I do:
I put the yarn on the swift and wind it into a cake. I then take that cake and rewind it into a skein using the swift (the picture below is of winding it into a cake, but the image shows the "handle" that I use as I reskein [top left corner]). It's definitely a workout for my right arm! But I've been listening to and watching a lot of podcasts while I do the reskeining, which makes the time go by much more enjoyably.
Once I have the yarn all reskeined onto the swift, I tied it off using choke ties to keep the yarn from tangling. I've been using cotton yarn for these ties in various colors. Here's a little secret: the color yarn used for the choke ties is actually coded for the yarn base. Although I can tell the bases apart, it's nice to just be able to see at a glance what base the yarn is. (See below for the color code--now whenever you see a picture of my yarn even without a label, you can identify the base yourself!)
After that, I remove the skein from the swift and give it a few twists, fold it in half, slip one side into the other side's loop, and voila! Skein of yarn all prettified and ready for a label.
Color coding for choke ties
Guenevere: light green
Perceval: white
Gawain: brown
Camelot: reinforcement thread in variegated purples/blues/reds
Galahad: tan
Avalon: dark green
Lancelot: orange
King Arthur: salmon
~~~~~~~~~~~~~~~~~~~
The content in this post was first featured in my newsletter (July 5, 2015). If you'd like to keep up to date on my designs and yarn and receive content like this right in your email inbox, make sure to subscribe to my newsletter.


No comments:
Post a Comment